
Microsoft lets you add phone numbers to your account to make it easier to log in and access the devices and services (e.g., Windows, Skype, Xbox Live) that use that account.
However, if you ever need to change your phone, you can easily do so via the Outlook desktop and web app.
Changing Your Phone Number in the Outlook Desktop App
- Launch the desktop app, and select File in the top ribbon.

Select File. - Choose Office Account from the left panel.

Go to the Office Account tab. - Under “Product Information,” select Manage Account. This will open myaccount.microsoft.com on your web browser.

Click on Manage Account. - Select Update Info under “Security info.”

Click Update Info. - Choose how you want to verify your identity.
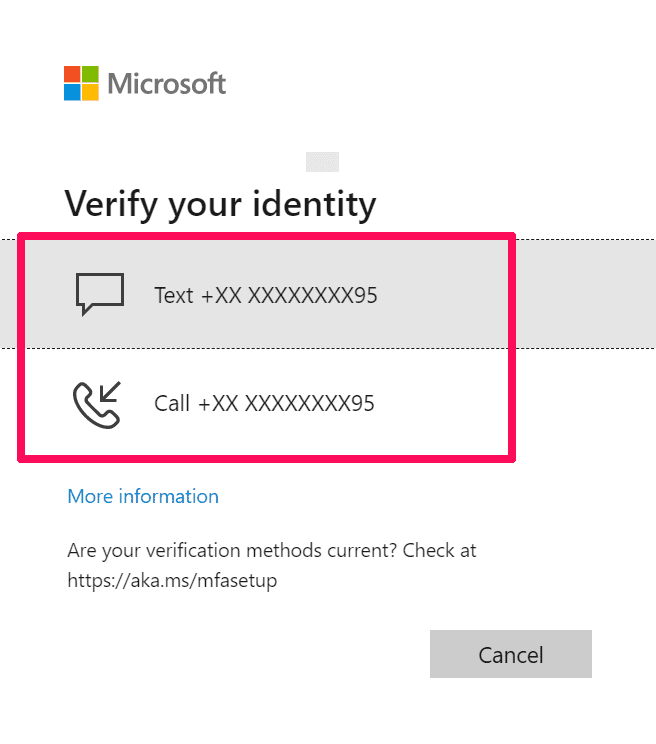
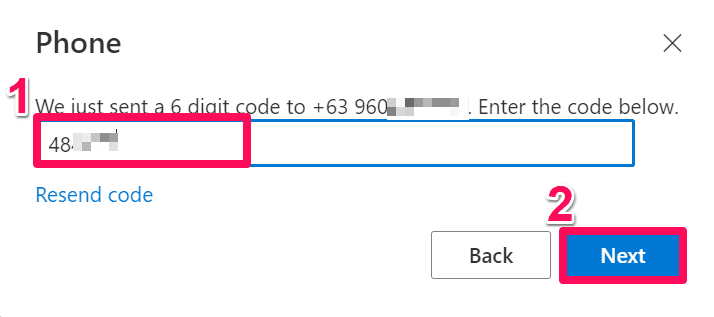
Identify your identity via text or call. - Enter the code given to you either via text or call. Then, hit Verify.

Type your verification code. Then, click on Verify. - Select Change next to the phone number you want to change.

Click on Change. - Select your country code from the drop-down menu if it isn’t set already.

Click on your country code. - Enter your new phone number without the country code.

Type your phone number. - Choose text or call to get the verification code. Then, click Next.

Select how you want to receive the verification code. - Enter the code you’ve received. Then, select Next. Hit Done on the next pop-up window. Your phone number will be replaced with a new one.
Type your verification code. 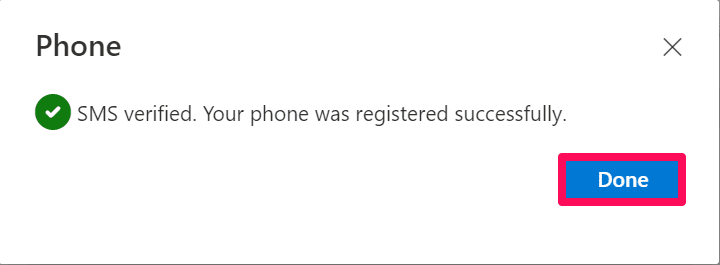
Click on Done. 
The new phone number will now be shown on the Security Info page.
Changing Your Phone Number in the Outlook Web App
- Log in to outlook.com. Then, select your profile icon in the top-right corner of the page.

Click on your profile icon. - Go to My Profile.

Click on My Profile. - Under “Account info,” select Edit account info.

Click on Edit account info. - Under “Account alias,” select Remove next to the number you want to change.

Click on Remove. - In the dialog box, confirm that you want to remove the number by choosing the Remove button.

Click on Remove. - Select Add phone number.

Click on Add phone number. - In the drop-down menu, choose your country code if it isn’t set already.
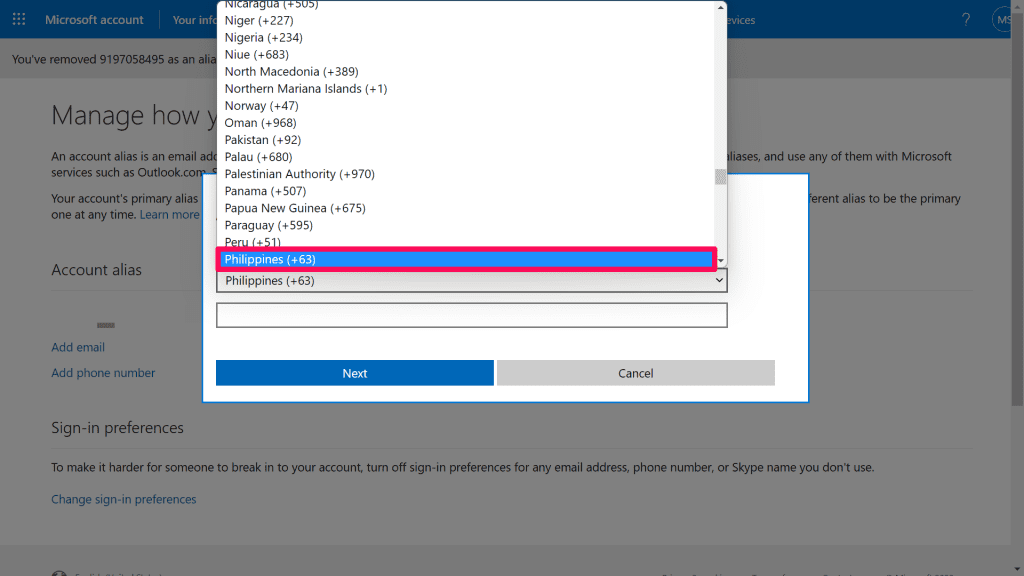
Click on your country code. - Enter your phone number without the country code in the text field. Then, hit Next.

Type your new phone number. Then, click on Next. - Enter the account verification code sent to your phone number. Then, select Next. You can now see your new phone number under “Account alias.”

Type your verification code. Then, click on Next. 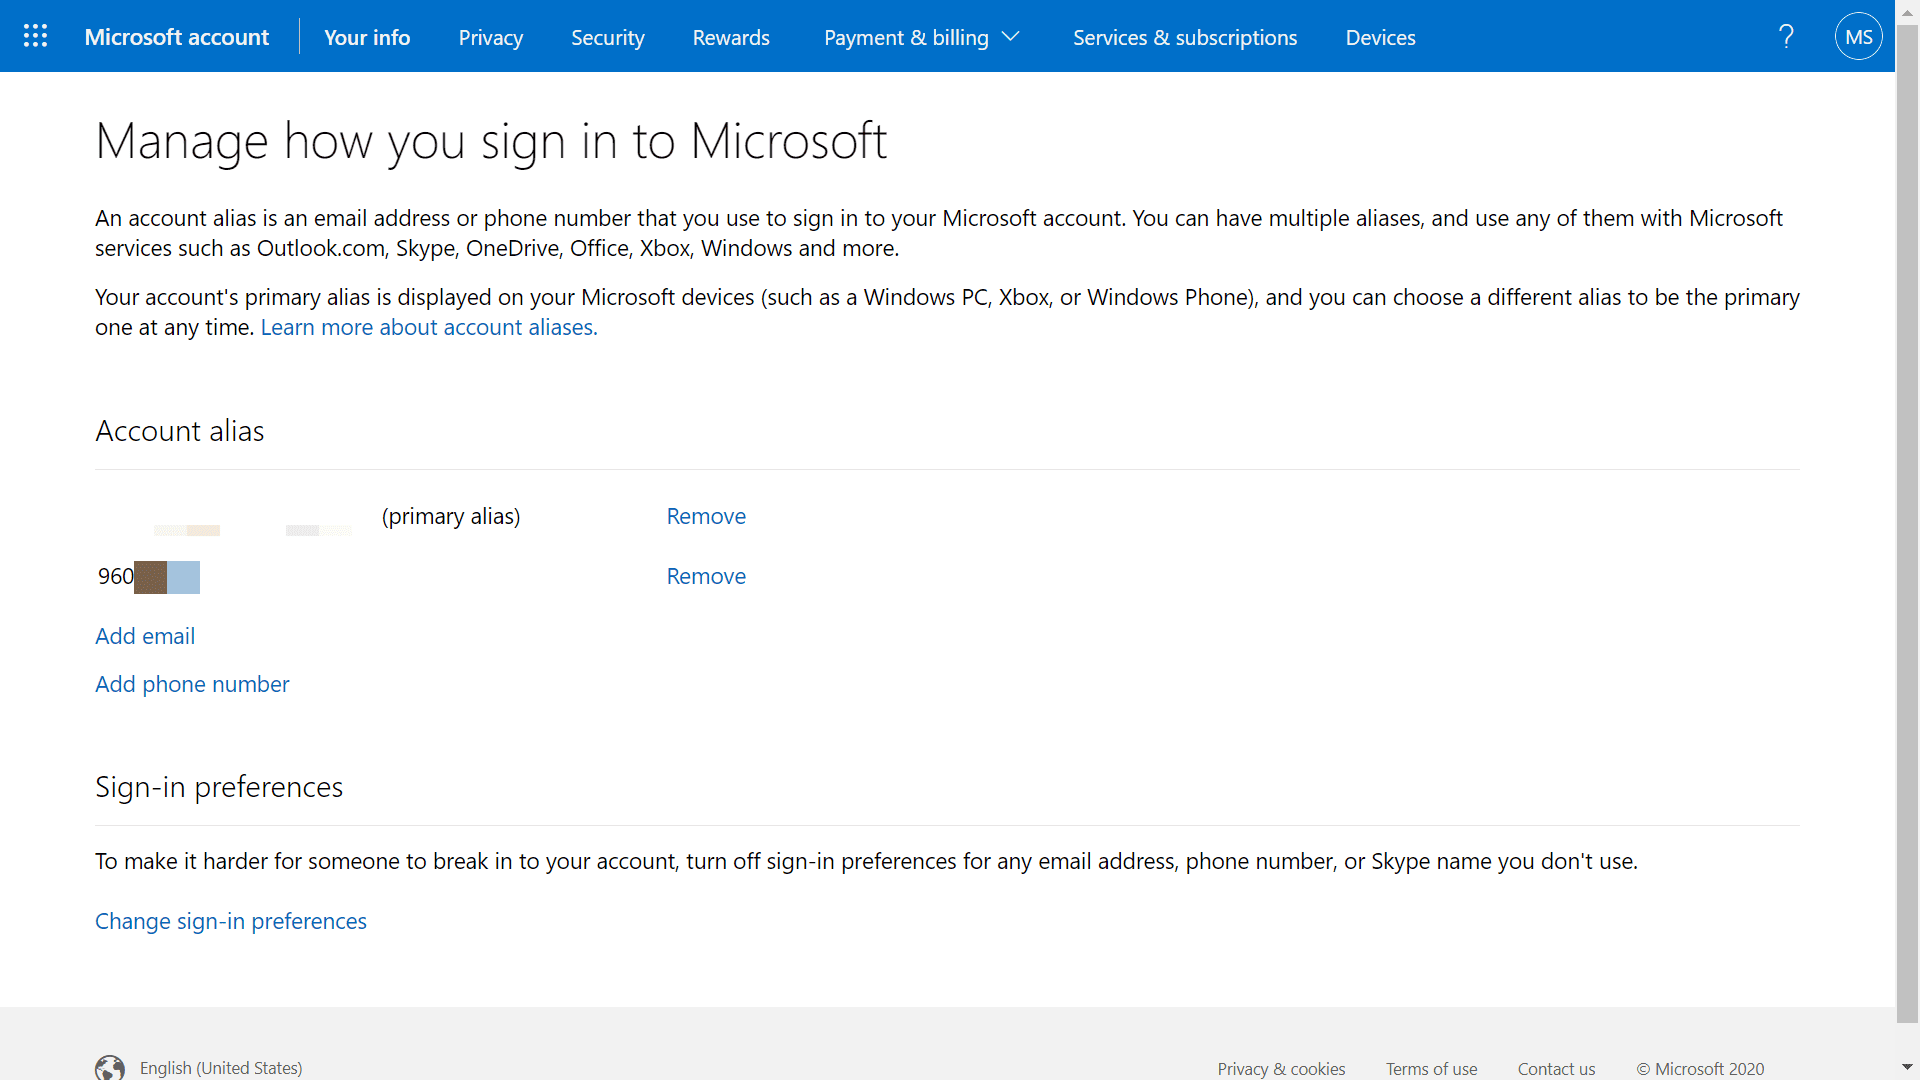
Your new phone number is listed under Account alias.