Email signatures are a great way to let colleagues quickly know your name, contact details, and position in the organization. They also make your emails look a lot more professional. To create your signature in the Outlook web and desktop apps, follow the steps below.
Creating a Signature in Outlook Web App
- Go to outlook.com and sign in.
- Click on the gear icon on the top-right corner of the page.

Click on the gear icon. - Click on View all Outlook settings in the bottom-right corner.

Click on View all Outlook settings. - In the “Mail” section, select Compose and reply.

Select Compose and reply. - Enter a name for your signature in the Edit signature name box. This is what your signature will be called. It can be anything from “My Signature” to simply your name like “John.”

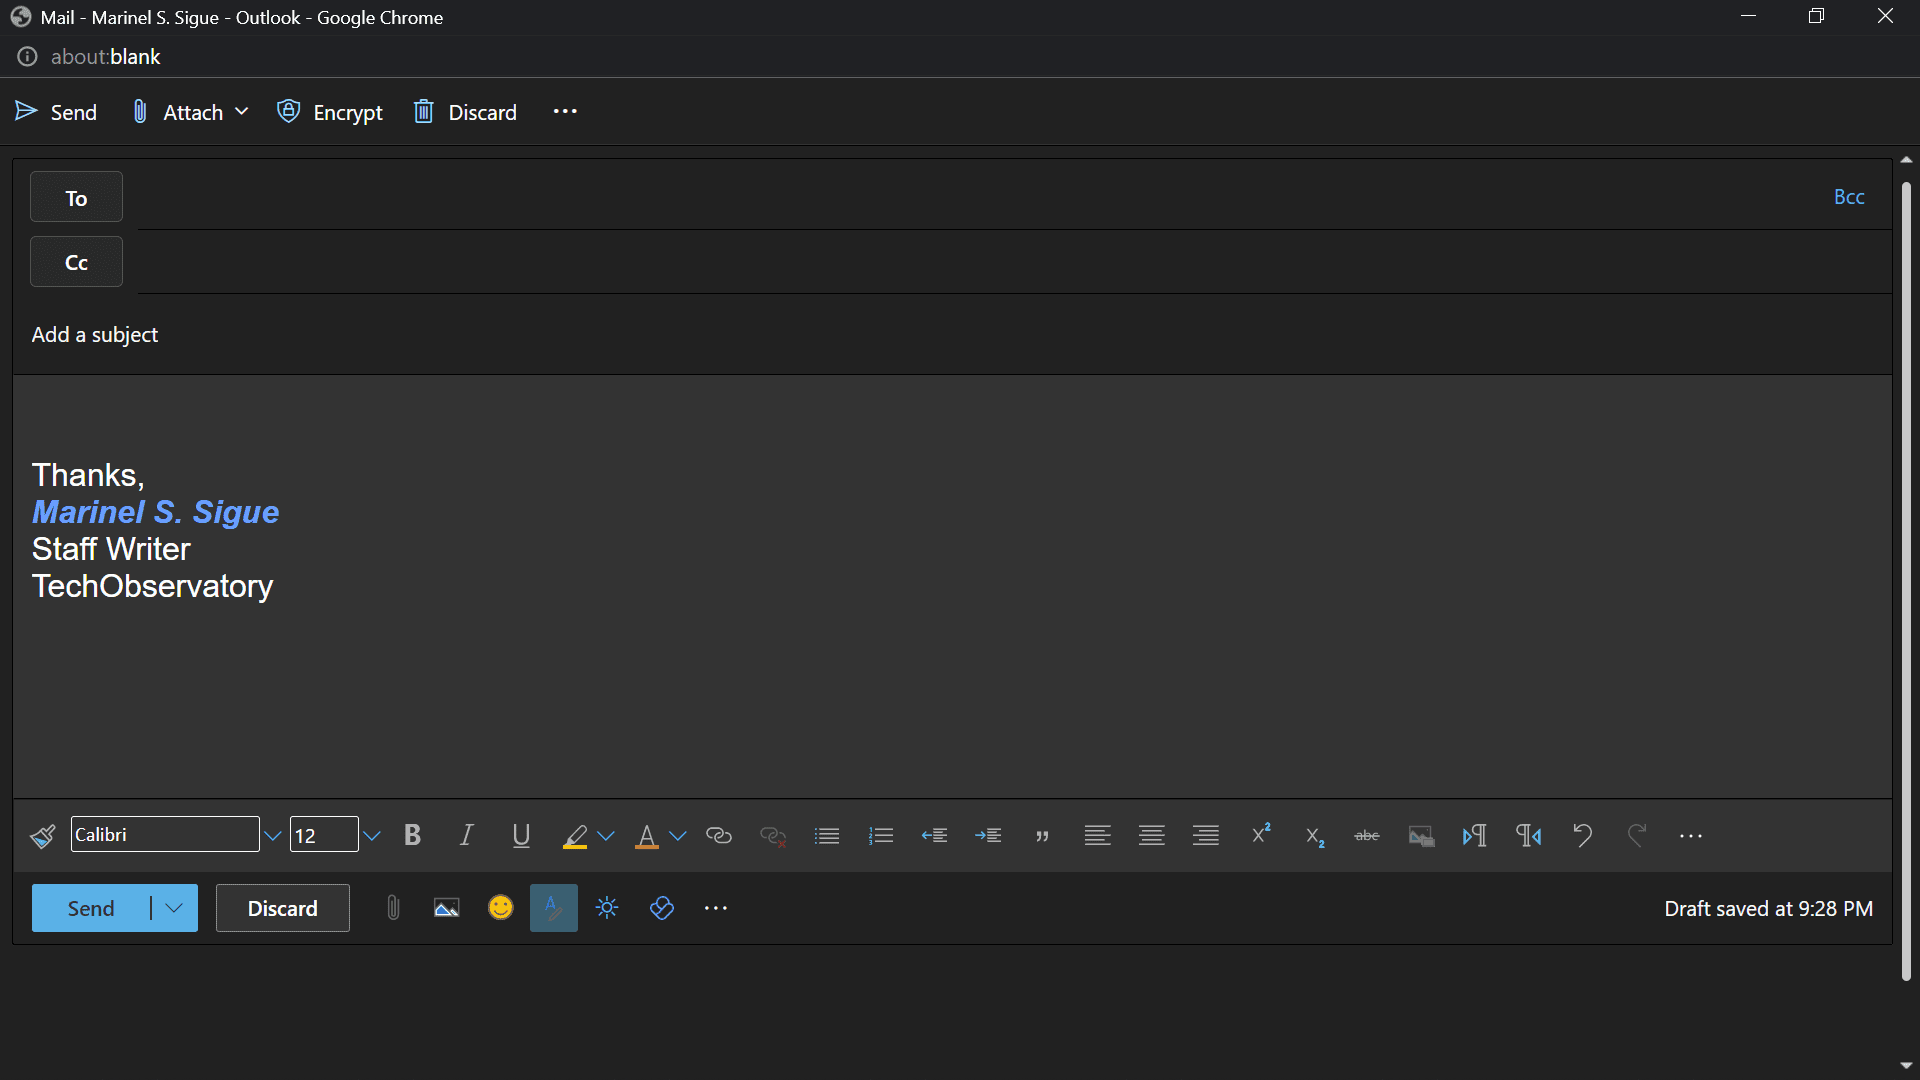
Type a name for your signature. - Type your signature in the text box. You should appropriately format the text using the provided Rich Text Editor.

Write your signature in the text box. - Scroll down to “Select default signatures.”

Go to “Select default signatures.” - If you want to include your signature in all new emails: in the For New Messages option, select your signature name from the drop-down menu.

Choose your signature name from the list. - If you want to include it in all messages you reply to or forward: in the For Replies/Forwards option, choose your signature name from the drop-down menu.

Select your signature from the list. - Click on Save.

Hit the Save button.
Manually choose when you want to attach a signature
If you don’t want to add your signature to every outgoing email automatically, you can insert it to specific emails manually.
- Compose a New message as you usually would.

Type your email. - Click on the three dots at the bottom of the compose pane.

Click the three dots below the compose pane. - Select Insert signature.

Choose Insert signature. - Select your signature name.

Click on the signature name. - Your signature will automatically be added to your message.

Click on Send.
Creating a Signature in the Outlook Desktop App
- Launch the Outlook desktop app.
- Select File in the menu bar.

Click on the File tab. - Click on Options.

Select Options. - Select Mail on the left-hand side.

Select the Mail button. - Click on Signatures.

Click on the Signatures button. - In the “Email Signature” tab, select New.

Hit the New button. - Enter a name for your signature in the text box and press OK. This name is simply what you want to call your signature.

Type a name in the pop-up box. - In the text box under “Edit signature”, type the signature you want to display. Change the formatting as you prefer.

Type your signature. - To include your signature in all new messages you send: Under “Choose default signature,” click on the drop-down menu for New messages and select your signature.

Choose your signature name from the list. - To include your signature in all new replies and forwards: In the drop-down menu for “New messages,” click on the “Replies/forwards” drop-down menu and select your signature.

Choose the signature name from the list. - When you’re ready, press OK.

Click the OK button.
Manually choose when you want to attach a signature
- Click on New Email in the ribbon bar in the Outlook desktop app. Add your recipient/s and compose your message.

Write your email. - Select Signature in the ribbon bar.

Click on Signature. - Choose your signature name. The signature will then be automatically added to your message.

Select your signature name. - Click Send once you’re ready to send the email.

Click on Send.